Nine tackle NS9 Bite Alarm
1.Snag Bars(antenna)
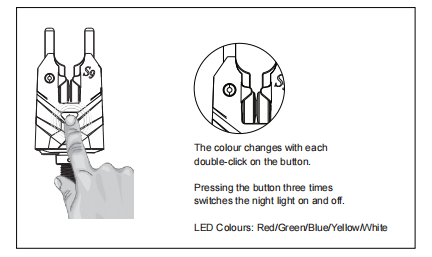
2.RGB LED / Nightlight
3.Roller Wheel
4.Power ON/OFF & Mute 30’
5.High Quality Cone Speaker
6.Type-C USB
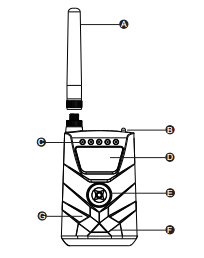
7.Lithium-ion battery(500mAh)Nine tackle NS9 Receiver
Nine tackle NS9rpro+ Receiver
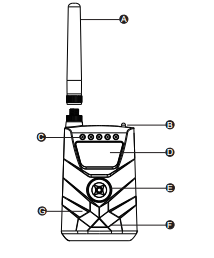
A.Antenna
B.Power ON/OFF

C.LEDs
D.Display
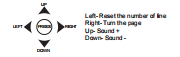
E.Multi-function Button
F.High Quality Cone Speaker
G.Lithium-ion Battery(1000mAh)
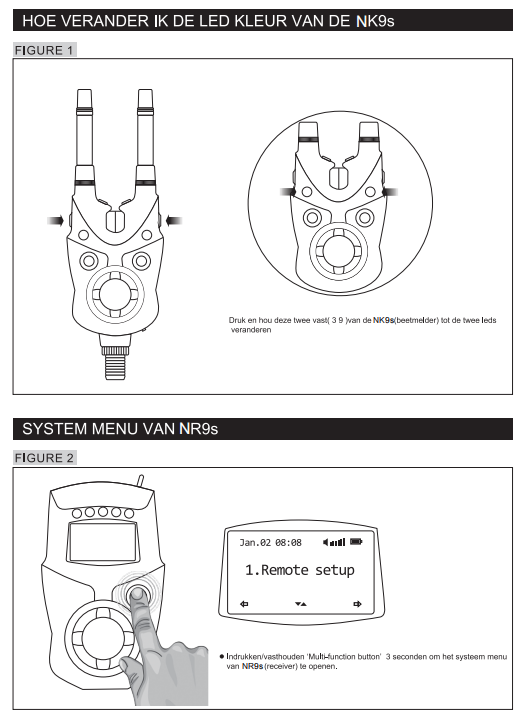
HOW TO CHANGE THE LED COLOUR OF THE NS9prO+ AND TURN ON THE NIGHTLIGHT
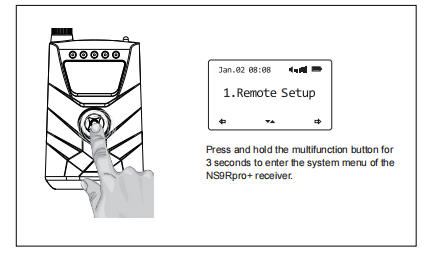
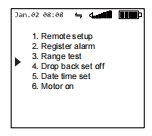
SYSTEM MENU OF NS9Rpro+
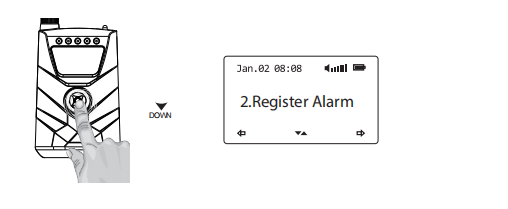
HOW TO REGISTER BITE ALARMS WITH RECEIVER
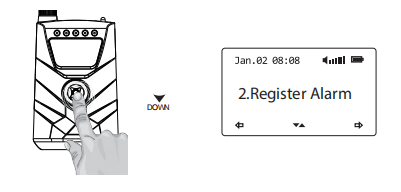
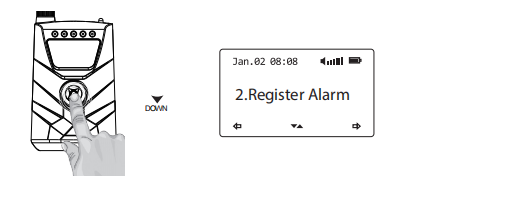
1. Press and hold the 'multifunction button' to enter the system menu of NS9Rpro+ receiver.
2. Scroll down to select the 'register alarm' menu.
3. Select the colour you want to register.

4. Turn the roller wheel of NS9pro+ bite alarm.
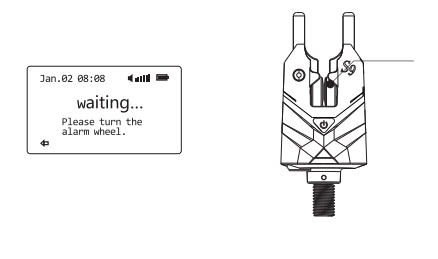
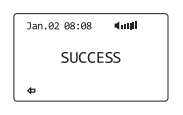
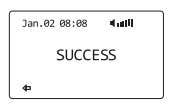
5. Registration was successful when the display shows 'SUCCESS'.

HOW TO REGISTER ANTI-THEFT ALARM NTH9s
1. Press and hold the 'multifunction button' to enter the system menu of NS9Rpro+ receiver.
2. Scroll down to select the 'register alarm' menu.
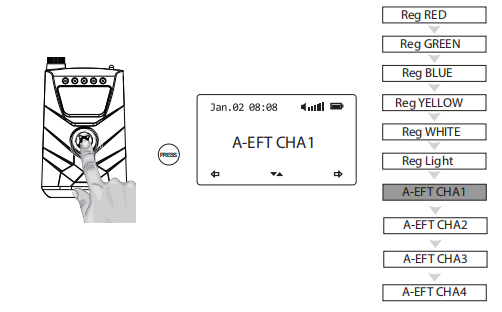
3. Choose one of the A-EFT channels (A-EFT CHA1, A-EFT CHA2, A-EFT CHA3, A-EFT CHA4). We recommend to start with A-EFT CHA1.
Press the button down to select the channel.
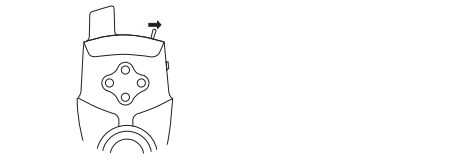
4. Turn on the NTH9s Anti-Theft Alarm.
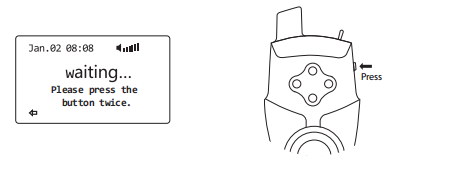
5. Press the right button on the NTH9s twice.
6. Registration was successful when the display shows 'SUCCESS'.
HOW TO REGISTER BIVVY LIGHT PRO
1. Press and hold the 'multifunction button' to enter the system menu of NS9Rpro+ receiver.
2. Scroll down to select the 'register alarm' menu.
3. Scroll down to 'Reg Light' and confirm by pressing the button on the receiver down.

4. The display shows 'waiting...Please press the button twice'.
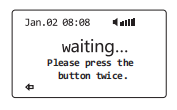
5. Switch on the Bivvy Light Pro by pressing and holding the button on the Bivvy Light.
The Bivvy Light switches through the colours and the light then goes out.

6.Then press the button on the Bivvy Light once and again.
7. Registration was successful when the display shows 'SUCCESS'.
HOW TO REMOTE CONTROL FUNCTIONS OF NS9Pro+/NTH9s via NS9Rpro+
1. Press and hold the 'multifunction button' to enter the system menu of NS9Rpro+ receiver.
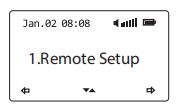
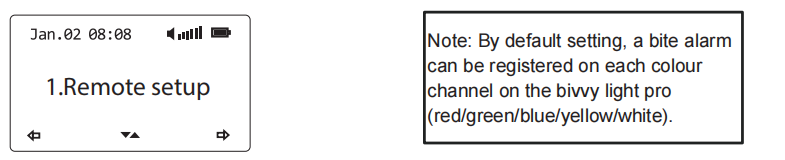
2.Scroll down to select the 'Remote setup' menu.
3. Scroll up and down to select the device you want to remote control.
4. Up and down to select the function, confirm with the multifunction knob and then up and down again to set the values.
*Some functions depend on the type of bite alarm. Not every bite alarm has all functions.
For example, the NS9Pro+ and NS8 bite alarms do not have illuminated snag ears.

5. Pressing left always takes you to the previous menu.
HOW TO DEFINE FUNCTIONS OF Bivvy Light pro via S9Rpro+
1. Press and hold the 'multifunction button' to enter the system menu of NS9Rpro+ receiver.
2. Scroll down to select the 'Remote setup' menu.
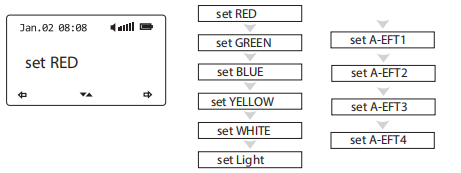
3. Scroll up and down to select 'set Light'.
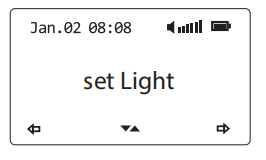
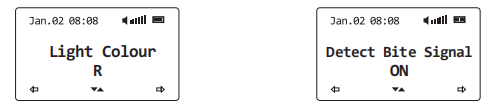
4. Left/right to select the function, up/down to set the value.
You can set the colour of the bivvy light to switch on the bivvy light for all bite alarms when a bite is detected or switch the function off.
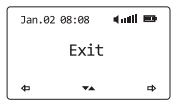
5. Select 'EXIT' to return main menu.
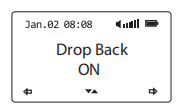
DROP BACK
1.Press and hold the 'Multi-function button' to access the NS9Rpro+ receiver system menu.
2.Scroll down to select the 'Receiver Setup' menu.
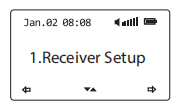
3. Scroll up and down to switch the dropback on/off.
Note: After turning the dropback function on and off, the alarm must be registered again.
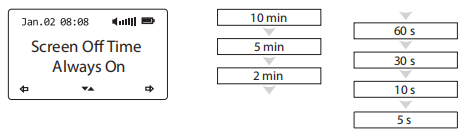
SCREEN OFF TIME
1.Press and hold the multifunction button to enter the NS9Rpro+ receiver system menu.
2.Scroll down to select the 'Receiver Setup' meau.
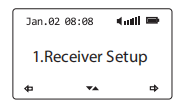
3. Scroll up and down to set the screen switch-off time.
DATE TIME SET
1. Press and hold the 'multifunction button' to enter the system menu of NS9Rpro+ receiver.
2. Scroll down to select the 'Date time set' menu and confirm by pressing the button down to enter the menu.
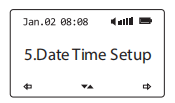
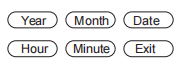
3. Left/right to choose Year/Month/Date/Hour/Minute/Exit, up/down to set the value.
RANGE TEST
The Range test function does not test the maximum range of the bite alarms to the receiver,
but how far the remote-control mode reaches. There is a difference between the range from the bite indicator to the receiver and from the receiver to the bite indicator. The real range of the bite alarms depends on environmental conditions. This range can only be tested manually by turning the roller wheel.
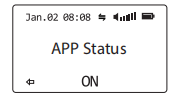
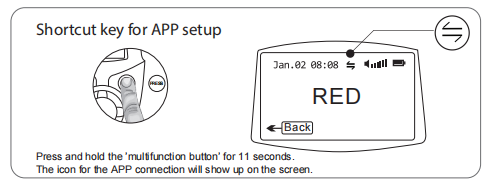
APP SETUP
1. Press and hold the 'multifunction button' to enter the system menu of NS9Rpro+ receiver.
2. Scroll down to select the 'Date time set' menu and confirm by pressing the button down to enter the menu.

3. Scroll up/down to switch ON/OFF the APP Setup. When turned on, the App connection Icon will be displayed on the screen.
4. Make sure that you have switched on Bluetooth on your smartphone.
5. Open the bite alarm app within the NT bite alarm suite. The connection is established automatically after a few seconds. Manual pairing is generally not necessary.
Most smartphones connect automatically without you having to enter a PIN code. If your phone requires a PIN, enter 000000 to try.
